Short Description
Add a Custom Tab to the Office Ribbon with controls to trigger your code functions.
Ingredients
- Microsoft Office
- Custom UI Editor for Microsoft Office
The Need
When building custom functionality or macros in a Excel or Word, you might want to provide the user with a User Interface that merges well with the look and feel of the Office native UI.
Office started including the Ribbon as its main menu containing paradigm since Office 2007.
The Ribbon is defined by an XML tree that describes all the elements that are included in a Ribbon
Using a simple technique, you can extend the native Office Ribbon to include your own custom tab with controls such as buttons, drop-down lists, etc. that make your macros and applications look more professional.
The Recipe
Step 1 – Download and Install the Custom UI Editor for Microsoft Office.
There are a wide variety of tools out there that allow you to edit the Ribbon’s XML code to create your custom controls. The one we’ll be using in this recipe has been around for a while, but it’s free, very simple to use and adequate for what we want to do.
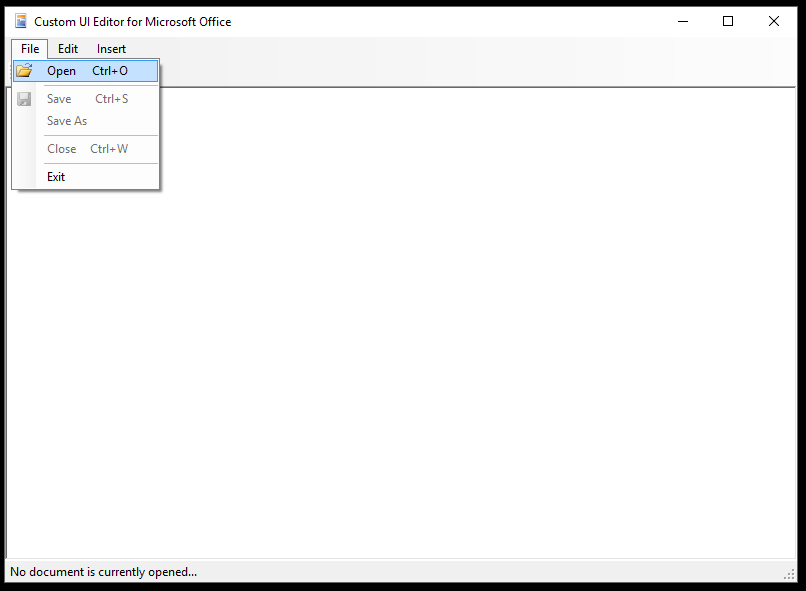
After you download and install this tool, you’ll have the following icon in your Desktop. Double-click to open and you’ll be presented with the main window of this application.
Step 2 – Open the Excel or Word file that you’d like to add the Custom Tab to.
Select File->Open from the menu and browse for the file you’d like to add the Custom Tab to. The definition of your Custom Tab will be part of the file that you’re adding it to.
Once the document is open, you can start adding the code necessary to define the new tab. The first thing you need to do is insert a new “Custom UI Part”, this can be a 2007 or 2010 version or both. The reason you have two separate definitions for those two versions is because each version uses a different XML schema definition.
Once the Custom UI Part is added, you can select its node to start adding the XML code that will define the new tab. The easiest way to get the first code stub in place is to use the examples included in this tool.
Selecting the “Custom Tab” sample XML code will insert the bare-bones basic definition of a custom tab. You can modify the various section of this definition to add your custom controls to it. In the example below, I’ve changed the ID’s of the group and a button to what I want.
You have a couple of choices in regards to the images that you’d like on your buttons. On the “button” XML element definition you could use the property “imageMso”. By assigning a value to this property you can use any of the various icons available within Office itself. A gallery of the available icons can be downloaded in the form of an Excel file from Microsoft’s website. https://www.microsoft.com/en-us/download/details.aspx?id=21103
For my custom button, I’ve decided to add my own image to it. In order to do this, select the option Icons from the Insert menu as shown below.
This allows you to select an image file which will be used as your button’s icon. Images of 32 x 32 pixels work best for this purpose.
This will embed the image as an asset available to the Ribbon. You can then instruct the button to use this image by using the property “image” instead of “imageMso” of the “<button>” XML element.
One last thing to note is that the name of the function defined by the “onAction” property is the name of the VBA function that will be called when the button is pressed. In my case I called it “CodeRecipesFunction”.
Step 3 – Connect VBA functionality to the new custom control.
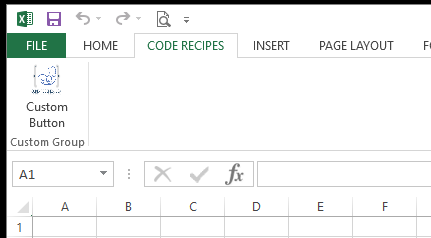
When you open the file where the custom tab has been added, you should now see your custom tab as part of the Ribbon menu.
The only thing left to do now is to add the code that will be triggered when the new custom button is pressed.
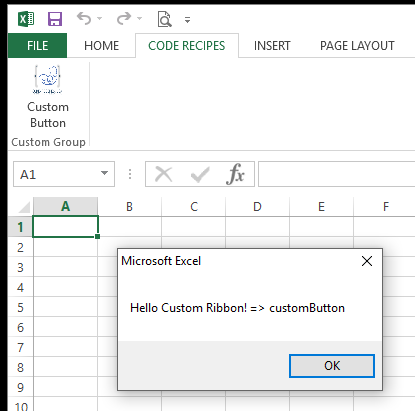
In this example I’ve added a simple message box that displays the ID of the button that triggered the function. Note that the function called by the Ribbon button has a specific signature and the function you create needs to take a parameter of the type “RibbonControl”.
I normally use a simple function in this part of my code that calls other functions that perform more complex work.
The code is shown below.
Note that you have a few properties available from the XML definition of the button that can be passed to your VBA function. These can be used to add some smarts to the way that function runs like passing information about the state of the button to the VBA code.
Once this VBA code has been created, your new button is ready for use. In my case I get the following when the button is pressed.
This is a nice way to encapsulate the functionality of your macros in a specific section of the Ribbon menu as well as gives a more polished and professional look to your application.
That’s it!. We hope you found this recipe useful. If you did, please share this post in the social network of your choosing by clicking one of the buttons below.


